How to Replace Lawn Mower Blade
Learn how to replace lawn mower blade safely and efficiently. This guide covers tools, steps, and tips for sharpening lawn mower blades and lawn mower maintenance.
How to replace lawn mower blade is a key skill for any lawn owner. A sharp blade gives a clean cut and keeps your grass healthy. In this guide, we cover everything you need to know. You will learn the tools, steps, and safety tips for lawn mower blade replacement. Whether you are a beginner or a pro, this article will help.
Regular lawn mower maintenance includes checking your blade. A dull blade tears grass, causing brown tips. Replacing or sharpening lawn mower blades every season keeps your lawn looking great. We will show you how to do it yourself. You can save money and get a better cut.
Before you start, gather the right tools. You will need a wrench or socket set, a block of wood, and safety gloves. A torque wrench is helpful but not required. Always disconnect the spark plug for safety. Now let's dive into the full process.
Key Takeaways
- Main Point: Replacing a lawn mower blade is simple and improves cut quality. You can do it with basic tools in under an hour.
- Actionable Advice: Always disconnect the spark plug before any blade work. Use a block of wood to prevent blade spin.
- Best Choice/Practice: Use a torque wrench to tighten the bolt to the manufacturer's specification. This prevents the blade from flying off.
- Expert Insight: Balance the new blade before installation. An unbalanced blade causes vibration and damages the mower.
- Summary: Follow the steps: safety, removal, installation, and testing. Your lawn will look healthier with a sharp blade.
Tools and Preparation for Blade Replacement
Before you start lawn mower blade replacement, gather all necessary tools. You need a socket or wrench that fits your blade bolt. A block of wood, like a 2x4, helps immobilize the blade. Safety gear such as gloves and goggles protect you. A penetrating oil can loosen stubborn bolts.
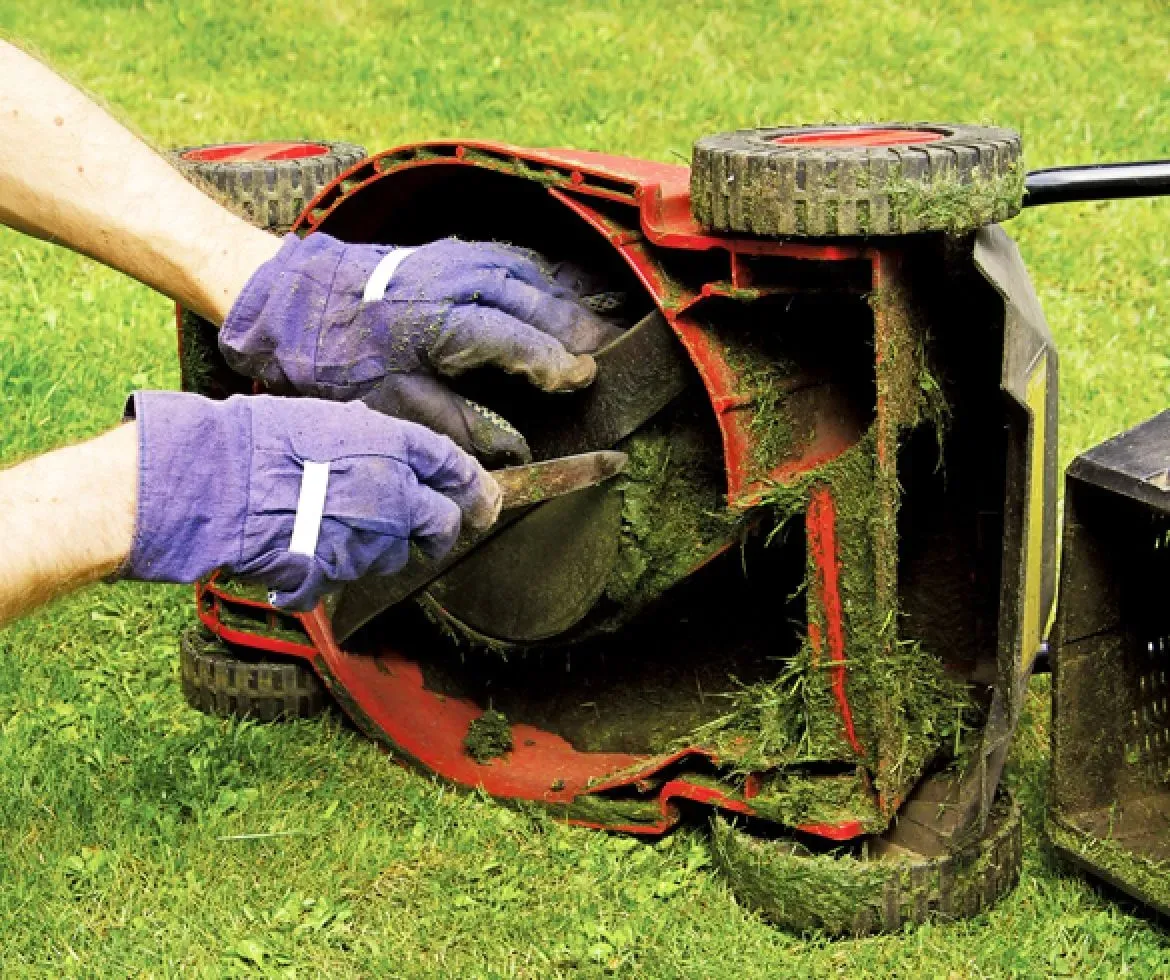
Place your mower on a flat surface. Drain the fuel or run the mower until empty. This prevents spills when you tip the mower. Tilt the mower so the carburetor faces up. This stops oil from leaking into the air filter. Always wear thick gloves when handling blades.
For mower blade removal, you may need to apply penetrating oil to the bolt. Let it sit for 10 minutes. This loosens rust and dirt. Use the wrench to turn the bolt counterclockwise. If it is stuck, tap the wrench with a hammer. Never force it too hard, as you can strip the bolt.
Once the bolt is loose, remove it and the blade. Note the orientation of the blade. The sharp edge should face the direction of rotation. Mark the bottom side with a marker. This helps during installation. Now you are ready to install a new blade.
How to Choose the Right Replacement Blade
Selecting the correct blade is crucial for install new mower blade. Measure your old blade's length, center hole diameter, and thickness. Most walk-behind mowers use 20-21 inch blades. Check your owner's manual for specifications. Buy a blade that matches exactly.
Blades come in different types: standard, mulching, and high-lift. Standard blades are good for general cutting. Mulching blades have more curves to chop grass finer. High-lift blades create more airflow for bagging. Choose based on your lawn needs. For a clean cut, always use a sharp blade.
After buying a new blade, check its balance. You can use a blade balancer or a nail on the wall. Hang the blade by the center hole. If one side drops, file the heavy side until balanced. An unbalanced blade causes vibration and wears the bearings quickly.
💡 Pro Tip
Always apply a thin coat of anti-seize compound to the blade bolt threads before installation. This makes future removal much easier and prevents rust from locking the bolt.
Step-by-Step Installation of the New Blade
Now you are ready for how to replace lawn mower blade installation. Place the new blade on the shaft. Ensure the sharp edge faces the correct direction. Use a block of wood to stop the blade from turning. Hand-tighten the bolt first. Then use the wrench to tighten it to the torque specified in your manual. For most mowers, this is about 40-50 foot-pounds.
If you do not have a torque wrench, tighten the bolt firmly. Do not over tighten, as it can strip the threads. Recheck the blade after the first mowing session. Some bolts may loosen slightly.
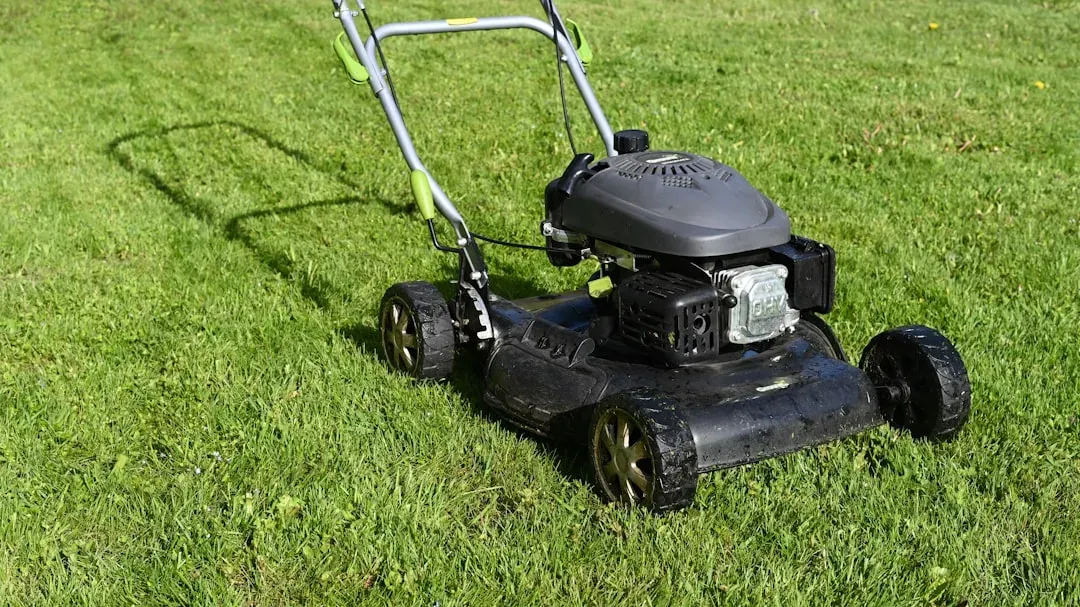
After installing, reconnect the spark plug. Lower the mower back to its wheels. Start the engine and run it at low speed. Listen for any unusual noise. A balanced blade runs smoothly. If you feel vibration, stop and check the blade balance.
⚠️ Important Note
Never reinstall a blade that is bent, cracked, or severely chipped. A damaged blade can break at high speed and cause serious injury or damage to the mower.
Safety Tips During Blade Replacement
Safety should be your top priority during lawn mower blade replacement. Always disconnect the spark plug wire before any work. The blade can spin if the engine accidentally turns over. Wear heavy gloves to protect your hands from sharp edges. Use eye protection to prevent debris from hitting your eyes.
When tipping the mower, keep the carburetor side up. This prevents oil and fuel from leaking. Work on a flat, dry surface. If you use a jack or blocks, ensure the mower is stable. Never put your hands near the blade while the tip is lifted.
Check the blade mounting area for debris or damage. Clean the shaft before installing the new blade. Apply a thin layer of anti-seize compound to the bolt threads. This makes future removal easier. Follow all these steps for safe lawn mower maintenance.
- Always disconnect the spark plug wire.
- Wear gloves and goggles.
- Use a block of wood to lock the blade.
- Tip the mower with carburetor up.
- Never work on a running mower.
Sharpening vs. Replacing: When to Do What
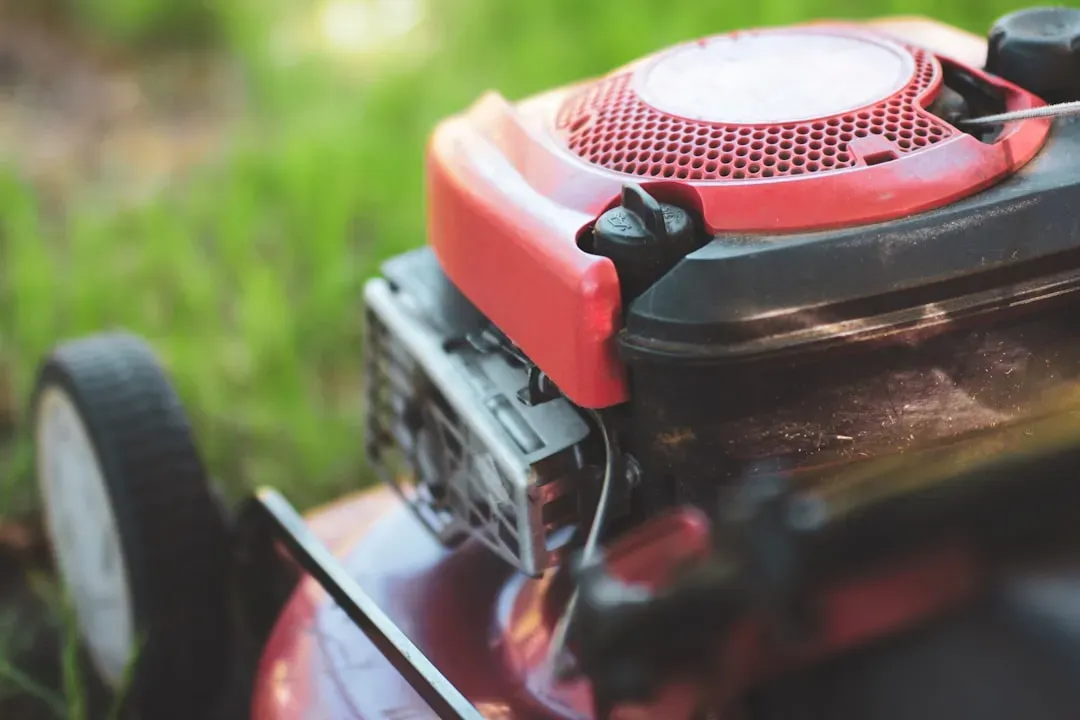
Many homeowners ask whether to sharpen or replace. Sharpening lawn mower blades is effective if the blade is not too worn. You can sharpen two or three times before needing a new blade. But if the blade is bent, chipped, or cracked, replace it. A damaged blade can break and cause injury.
To sharpen, remove the blade and clamp it in a vise. Use a file or bench grinder to follow the original bevel. Maintain the same angle. After sharpening, balance the blade. If the blade is very thin, it is time for a replacement. Always keep a spare blade on hand for quick swaps.
Regular lawn mower maintenance includes checking the blade each season. Look for nicks, bends, or corrosion. A dull blade tears grass, leading to disease. A sharp blade cuts cleanly and saves fuel. For best results, replace your blade once a year, or as needed.
For more on starting your mower, read our guide on how to start a lawn mower. And if you need to change the oil, check out how to change oil in lawn mower.
Frequently Asked Questions
How often should I replace my lawn mower blade?
Replace the blade once a year or after 25 hours of use. Sharpness depends on your lawn condition. Sand and rocks dull blades faster.
Can I replace a lawn mower blade without removing the blade?
No, you must remove the blade to replace it. Always disconnect the spark plug first.
What tools do I need to replace a lawn mower blade?
You need a wrench, a block of wood, gloves, and optionally a torque wrench. A penetrating oil helps for stuck bolts.
How do I know if my lawn mower blade is dull?
Look for ragged grass tips, tearing, or uneven cut. Also check for visible nicks or wear on the blade edge.
Conclusion
Learning how to replace lawn mower blade is easy and saves you money. With the right tools and safety steps, you can do it in under an hour. A sharp blade keeps your lawn healthy and looking great.
Remember to always disconnect the spark plug and use a block of wood. Choose the correct blade for your mower model. Balance the blade before installation. Regular lawn mower blade replacement is a key part of lawn mower maintenance. Your lawn will thank you.
Now you have the knowledge. Go replace that blade and enjoy a cleaner cut. For more tips, explore our other guides on lawn care.